Best Levada Walks in Madeira: Choose by Difficulty and Transport
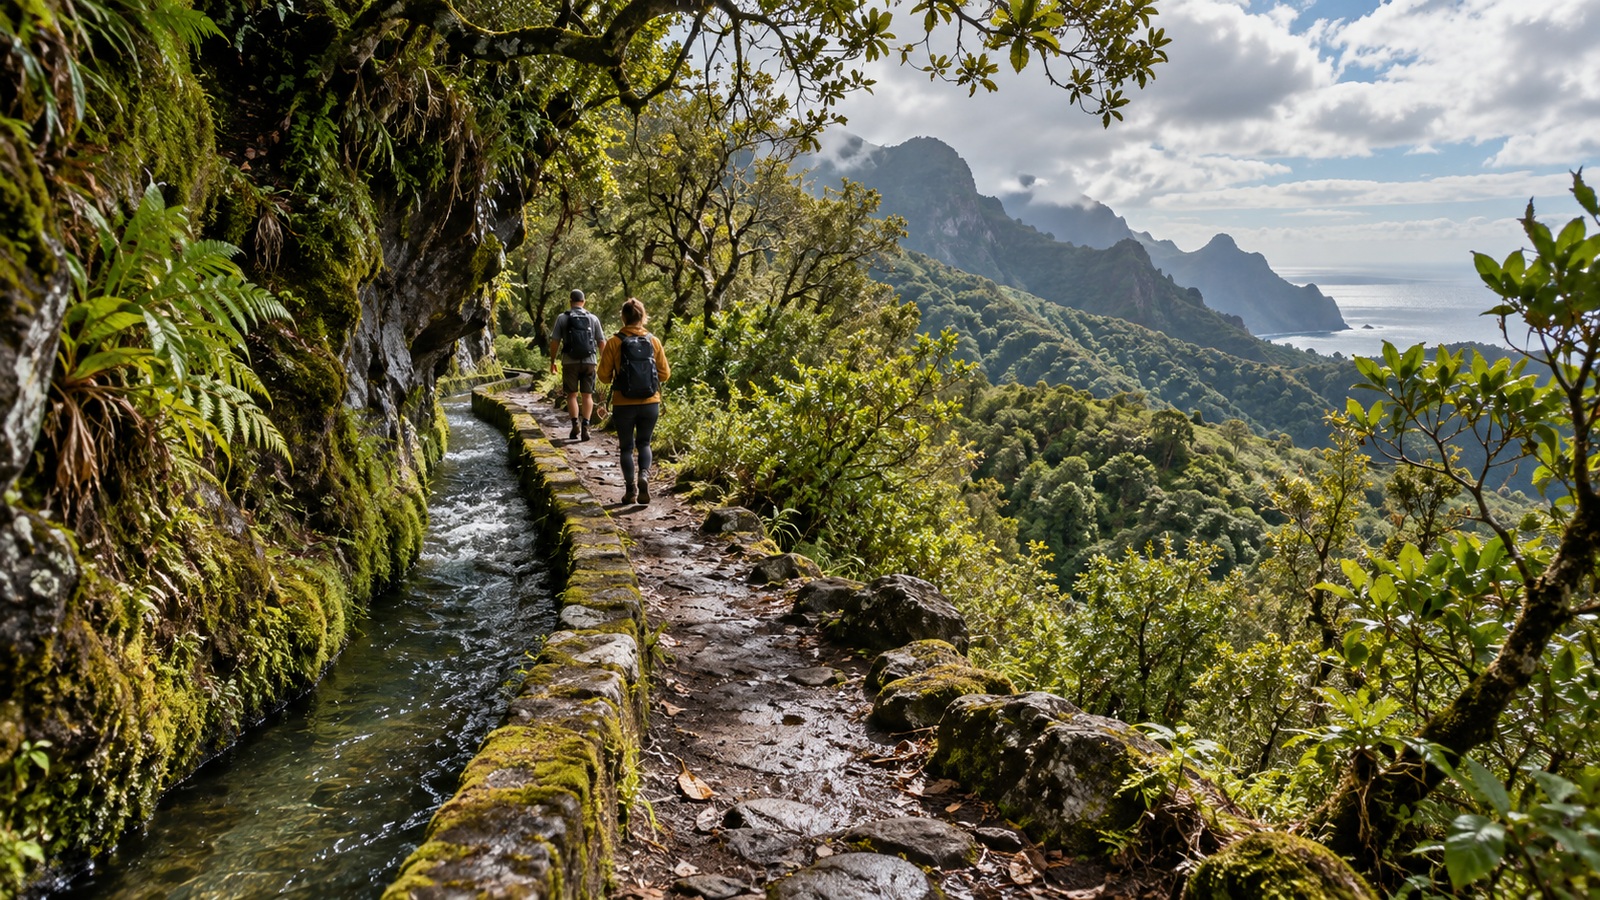
The best levada walks in Madeira depend on how far you want to walk, how you feel about tunnels and how you’ll reach the start. Choose Balcões for a short introduction, Alecrim for a longer easy-graded route, or Caldeirão Verde for forest and rock tunnels. The compromise is that a famous waterfall, a gentle gradient and a straightforward day are three different things.
This comparison keeps seven useful choices from the short viewpoint walk to longer forest outings. Start with your group’s limits, then choose independent transport, a transfer or a guided walk that fits the route.
How to compare levadas fairly
Compare distance and exposure
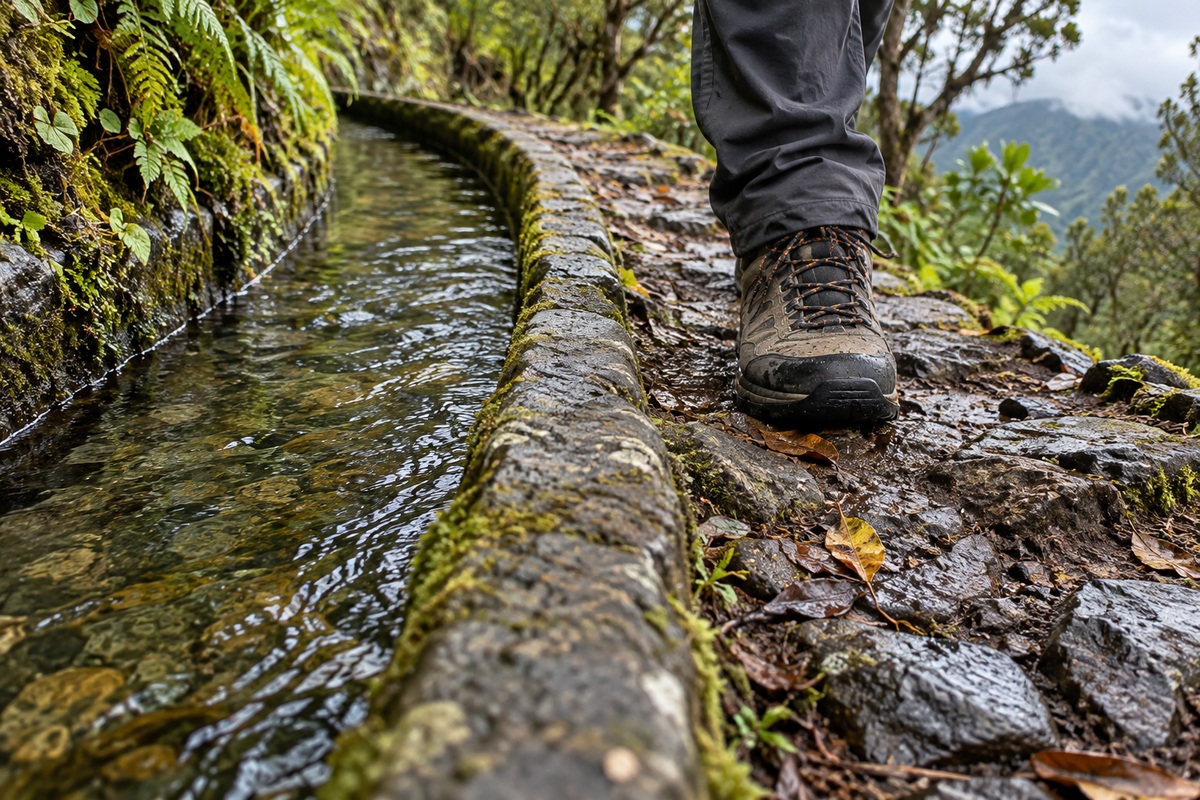
A levada is a water channel; your walk follows the path beside it. A small difference between the lowest and highest point says little about cumulative climbing, narrow sections or confidence in darkness. Compare the full return distance, the intended turning point and the physical features before choosing by scenery. The selection below weighs scenery, path character, tunnels, published route information and usefulness for different travellers. It’s an editorial comparison, with no claim of personal testing or measured crowd levels.
Distances in the table describe the official route or named reference circuit. They don’t establish the distance of every excursion using that name. A tour can join a different access path, combine branches or turn back earlier. Ask for its actual walking distance and endpoint, especially when comparing two apparently identical waterfall trips.
Compare access and transport
Separate walking time from the time away from your hotel. A short trail can still take a substantial part of the day once collection, driving and the return are included. If you’re driving, locate the exact trailhead and plan the return to your vehicle. With a transfer, check both collection points and how much time you have on foot.
Check the IFCN trail-status list before travelling. For IFCN routes covered by the reservation system, book the entry slot through SIMplifica, unless your operator handles it. A transport booking alone doesn’t show that a trail reservation has been made.
Compare seven levada walks
Official route details checked 20 October 2026. Times are the tourism board’s estimates, rather than promises for your pace. Combined excursions can follow different distances. Scroll the table sideways on a small screen.
| Walk | Published distance | Official grade / time | Why choose it — and the catch |
|---|---|---|---|
| Caldeirão Verde / PR9 | 17.4 km return for the full route to Caldeirão do Inferno | Moderate; 6½ hours for that full route | Forest and four rock tunnels; confirm where your walk turns back |
| 25 Fontes / PR6, plus Risco / PR6.1 | PR6: 8.6 km return; PR6.1: separately listed as 3 km return | PR6 moderate, 3 hours; PR6.1 easy, 2 hours | Two waterfall destinations; shared access means these are not simple totals to add |
| Moinho–Nova, Ponta do Sol | 7.8 km circular trail-running reference | Moderate running circuit; no walking-time estimate adopted here | Valley and ocean views; technical ground and height exposure |
| Balcões / PR11 | 3 km return | Easy; 1½ hours | Short introduction; clear mountain views depend on visibility |
| Levada do Rei / PR18 | 10.6 km return | Moderate; 3½ hours | Forest to Ribeiro Bonito; still a substantial distance |
| Alecrim / PR6.2 | 7 km return | Easy; 2½ hours | Rabaçal valley views; longer than the short Balcões option |
| Fajã do Rodrigues / PR16 | 7.8 km return | Moderate; 3½ hours | Tunnel interest on a shorter route than full PR9; darkness remains a constraint |
Caldeirão Verde — PR9
Choose this for forest and rock tunnels if everyone is comfortable with a longer outing. The official PR9 description starts at Queimadas Forest Park, passes four tunnels and reaches Caldeirão Verde before continuing towards Caldeirão do Inferno. That sequence matters more than a ranking badge.
The published 8.7 km each way and 6½-hour estimate refer to the full route ending at Inferno. They are not a distance and time for a walk turning at Verde. Before booking, obtain the operator’s endpoint, walking distance, tunnel arrangements and return plan. Don’t extend a guided itinerary or a reserved route merely because the longer line appears on a map.
25 Fontes and Risco — PR6 / PR6.1
Choose this area when waterfalls are the main attraction. PR6 leads from Rabaçal towards the 25 Fontes lagoon. PR6.1 is the separate Risco branch, sharing the initial approach. Keeping the two names separate makes a combined excursion easier to judge.
Don’t add their published return distances as though they were unrelated walks, or assume every Rabaçal tour follows the same line. Ask whether both destinations and any tunnel access are included. The Madeira Explorers product compared below explicitly uses a tunnel on the return. Choose its actual itinerary, rather than a general claim that the area is tunnel-free. Reserve enough time for the access route as well as the water stops.
Levada do Moinho and Levada Nova
Choose the Ponta do Sol pairing for southwest-coast valley and ocean scenery when exposure is within your comfort level. Visit Madeira’s Lombada da Ponta do Sol reference describes a 7.8 km circular trail-running route, with 522 m ascent and 512 m descent. It is useful context, not a measured duration for your walking itinerary.
The tourism board singles out Moinho’s irregular, more technical line and the caution needed at Levada Nova’s height. That rules it out as an automatic easy alternative to PR9. Confirm the intended walking circuit and local access before arranging transport. Use the place name Ponta do Sol when enquiring: a shared levada name alone is not enough to identify the route.
Vereda dos Balcões — PR11
Choose Balcões if you want a short first walk with a viewpoint destination. The official PR11 page describes a route alongside Levada da Serra do Faial from Ribeiro Frio: 1.5 km out and the same back, graded easy. You get a manageable introduction without committing to the longer forest routes in this comparison.
The trade-off is the viewpoint. Mountain views depend on clear conditions, so don’t make a guaranteed panorama the basis of your day. Nor does “easy” establish step-free access or suitability for every mobility need. Confirm the walking surface against your own requirements. Plan transport around a short visit, rather than paying for a full walking day you don’t need.
Levada do Rei — PR18
Choose Rei when you want a longer forest walk with a defined natural destination. PR18 starts near the water-treatment plant at Quebradas, São Jorge, and heads towards Ribeiro Bonito. The official 10.6 km return distance and moderate grade are a better basis for choosing it than an unsupported promise that it will be quiet.
Its relatively small published altitude range does not remove the need to cover that distance. Keep the forest setting as the reason to go; don’t choose it solely to escape other walkers. If you’re arranging a driver, specify the trailhead rather than simply São Jorge, and agree the return. With a group excursion, check whether its pace and total day suit you.
Levada do Alecrim — PR6.2
Choose Alecrim for an easy-graded Rabaçal walk when Balcões feels too short. The official route runs from ER105 towards the levada’s spring at Ribeira do Lajeado, with views over Rabaçal and Ribeira da Janela. The board lists 7 km return and about 2½ hours, making the length an important part of the choice.
The description’s heather tunnels are passages through vegetation; don’t confuse them with the rock tunnels that shape PR9 or PR16. Keep the return on the same route if that is the walk you have planned. Adding the separate Lagoa do Vento branch changes the outing. Tell your transfer provider which route you intend, so the walking window matches your plan.
Levada Fajã do Rodrigues — PR16
Choose this for tunnel interest if the full PR9 distance is too much, but darkness itself isn’t a problem. PR16 runs from Ginjas, São Vicente, towards Ribeira do Inferno and returns the same way. The official description features repeated tunnels, waterfalls and valley views, with a moderate grade and 7.8 km return distance.
Shorter does not make it a suitable substitute for someone avoiding enclosed passages. Discuss tunnel equipment and suitability with a guide before choosing the product. Arrange collection at the named start and leave enough time for the return walk. This is a different Ribeira do Inferno from Caldeirão do Inferno on PR9; use the PR number when comparing itineraries.
Choose a walk for your constraints
If you want to avoid long tunnels
Start by comparing Balcões and Alecrim. Their official descriptions offer a short viewpoint walk and a longer easy-graded route respectively; Alecrim’s vegetation passages are a different feature from PR9’s rock tunnels. If enclosed spaces are a firm limit, tell the operator before booking and ask about the complete itinerary, including access and return paths.
Rabaçal is a good example of why that final question matters. A tour sold around 25 Fontes can leave through a tunnel even though the waterfall is the headline attraction. A guide can explain the route, but cannot make an unwanted enclosed passage disappear. Choose another itinerary when the answer does not fit your needs.
If you have limited time or confidence
Balcões is the clearest starting point among these seven for a short walking commitment. Alecrim offers more distance without moving to a moderate official grade. Treat that as a shortlist, then judge your group’s walking ability and the conditions. A lower grade is not evidence of wheelchair access, and a short walk still needs a workable journey there and back.
For a first full forest outing, pay for a guide when you want route explanation and an organised group pace. Choose a transfer when transport is the missing piece and you’re prepared to walk independently. The wider Madeira levada walks guide explains those formats; this comparison helps you choose the actual trail.
Choose a guided walk or a transfer
Pay for guiding when it adds value
The two Rabaçal products below both advertise guiding and return transport. Compare them if 25 Fontes is your chosen destination, rather than treating them as substitutes for all seven walks. A guide’s value is accompaniment and interpretation; the compromise is following the agreed group programme. Check the maximum group size directly, since neither listing supplied a clear limit in the information reviewed.
Booking and payment take place on GetYourGuide. These are ordinary editorial links; the comparison is based on the advertised service. Listing conditions checked 20 October 2026. Select your date and English-language option to see the departure and price. No departure availability is promised here.
| Booking detail | Nature Meetings — Rabaçal / 25 Fountains, product 15584 | Madeira Explorers — Guided Full-Day Rabaçal Walk, product 376146 |
|---|---|---|
| Advertised duration | 8 hours | 6 hours |
| Pickup and return | Main Funchal hotels; other areas may carry a supplement | Central Machico, Santa Cruz, Caniço, Garajau and Funchal |
| Guide and equipment | Certified mountain guide; English guaranteed | English offered; poncho, rucksack and wooden sticks listed |
| Route detail to weigh | Confirm the exact walking line and endpoints | Risco, 25 Fontes and an advertised 800 m return tunnel |
| Trail charge | Reservation included; fee excluded | Separate €3 cash charge listed; confirm the child tariff before booking for a 12-year-old |
| Food and footwear | Lunch excluded; bring hiking shoes and water | Food, drinks and walking shoes excluded |
| Suitability | Excludes people with mobility impairments | Excludes pregnancy, mobility impairments, wheelchair users and people with vertigo |
| Cancellation | Listed free cancellation up to 24 hours before | Listed free cancellation up to 24 hours before |
Choose Nature Meetings for the longer advertised day, after confirming the walking itinerary. Choose Madeira Explorers if its pickup area and equipment solve practical problems, and the tunnel suits everyone. Both require suitable walking ability.
Check availability on GetYourGuide — Nature Meetings
Check availability on GetYourGuide — Madeira Explorers
Check the return transfer and fees
Before paying, obtain the pickup point and time, expected return, total walking distance, maximum group size and arrangements if access changes. Keep transfer time separate from walking time. Neither a generic pickup badge nor a town on the itinerary guarantees collection at your accommodation. Bring the footwear the product requires rather than assuming equipment is included.
The IFCN fee rules, checked 20 October 2026, list €4.50 for an individual visitor’s single covered route other than PR1, with exemptions including children aged 12 or under. Protocol operators have different tariffs. Confirm who reserves, what you pay and to whom; don’t make a duplicate reservation when the operator handles it. For an independent outing, arrange your own required slot and transport.
Questions before you book
Which levada is best for a first walk?
Choose Balcões if a short, easy-graded walk fits your group. Choose Alecrim if you want a longer introduction and can manage 7 km. Check current access and transport before deciding. Neither recommendation promises step-free access, dry ground or a clear view on your chosen day.
Are all levada walks easy?
No. The channel’s gentle line does not describe the whole walk. Compare return distance, actual climbing, narrow or exposed sections and tunnels. PR9 and PR16 are moderate official routes despite relatively small altitude ranges. Choose according to the least confident walker’s limits, rather than a waterfall photograph.
Does a guided walk include trail fees?
Not automatically. The two Rabaçal listings above treat the trail charge separately from the tour price, and arranging the reservation is different from paying it. Ask the operator to confirm the applicable amount, exemptions and booking responsibility before paying. Keep the answer with your departure details.